Our Work
Project showcase.
Two decades of construction across Fort Qu’Appelle, Regina and surrounding areas. Open any project below to read how it was scoped, built and finished: the challenges, the details that mattered, and the result.
Selected Work
Every project has a reason it was built that way.
Select a project to expand the full case study.
Commercial · Commercial Fit-Out
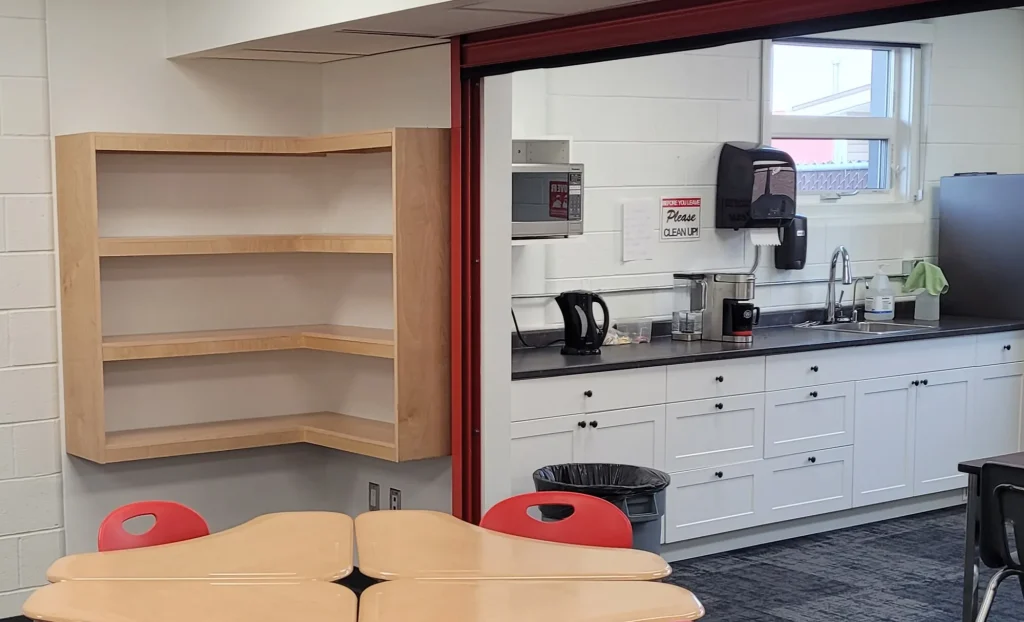
Commercial Office Fit-Out in Regina
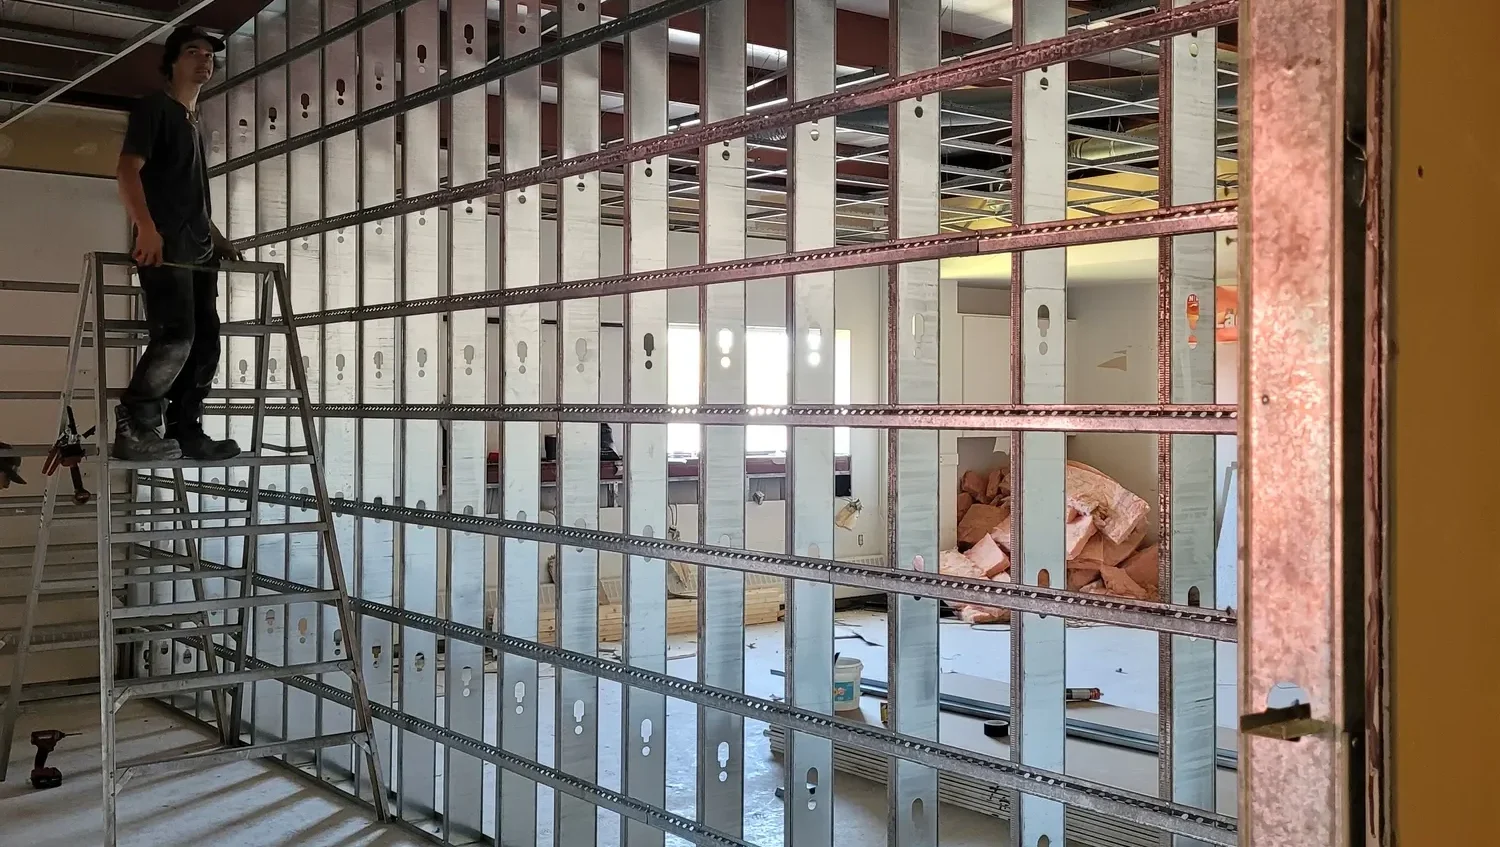
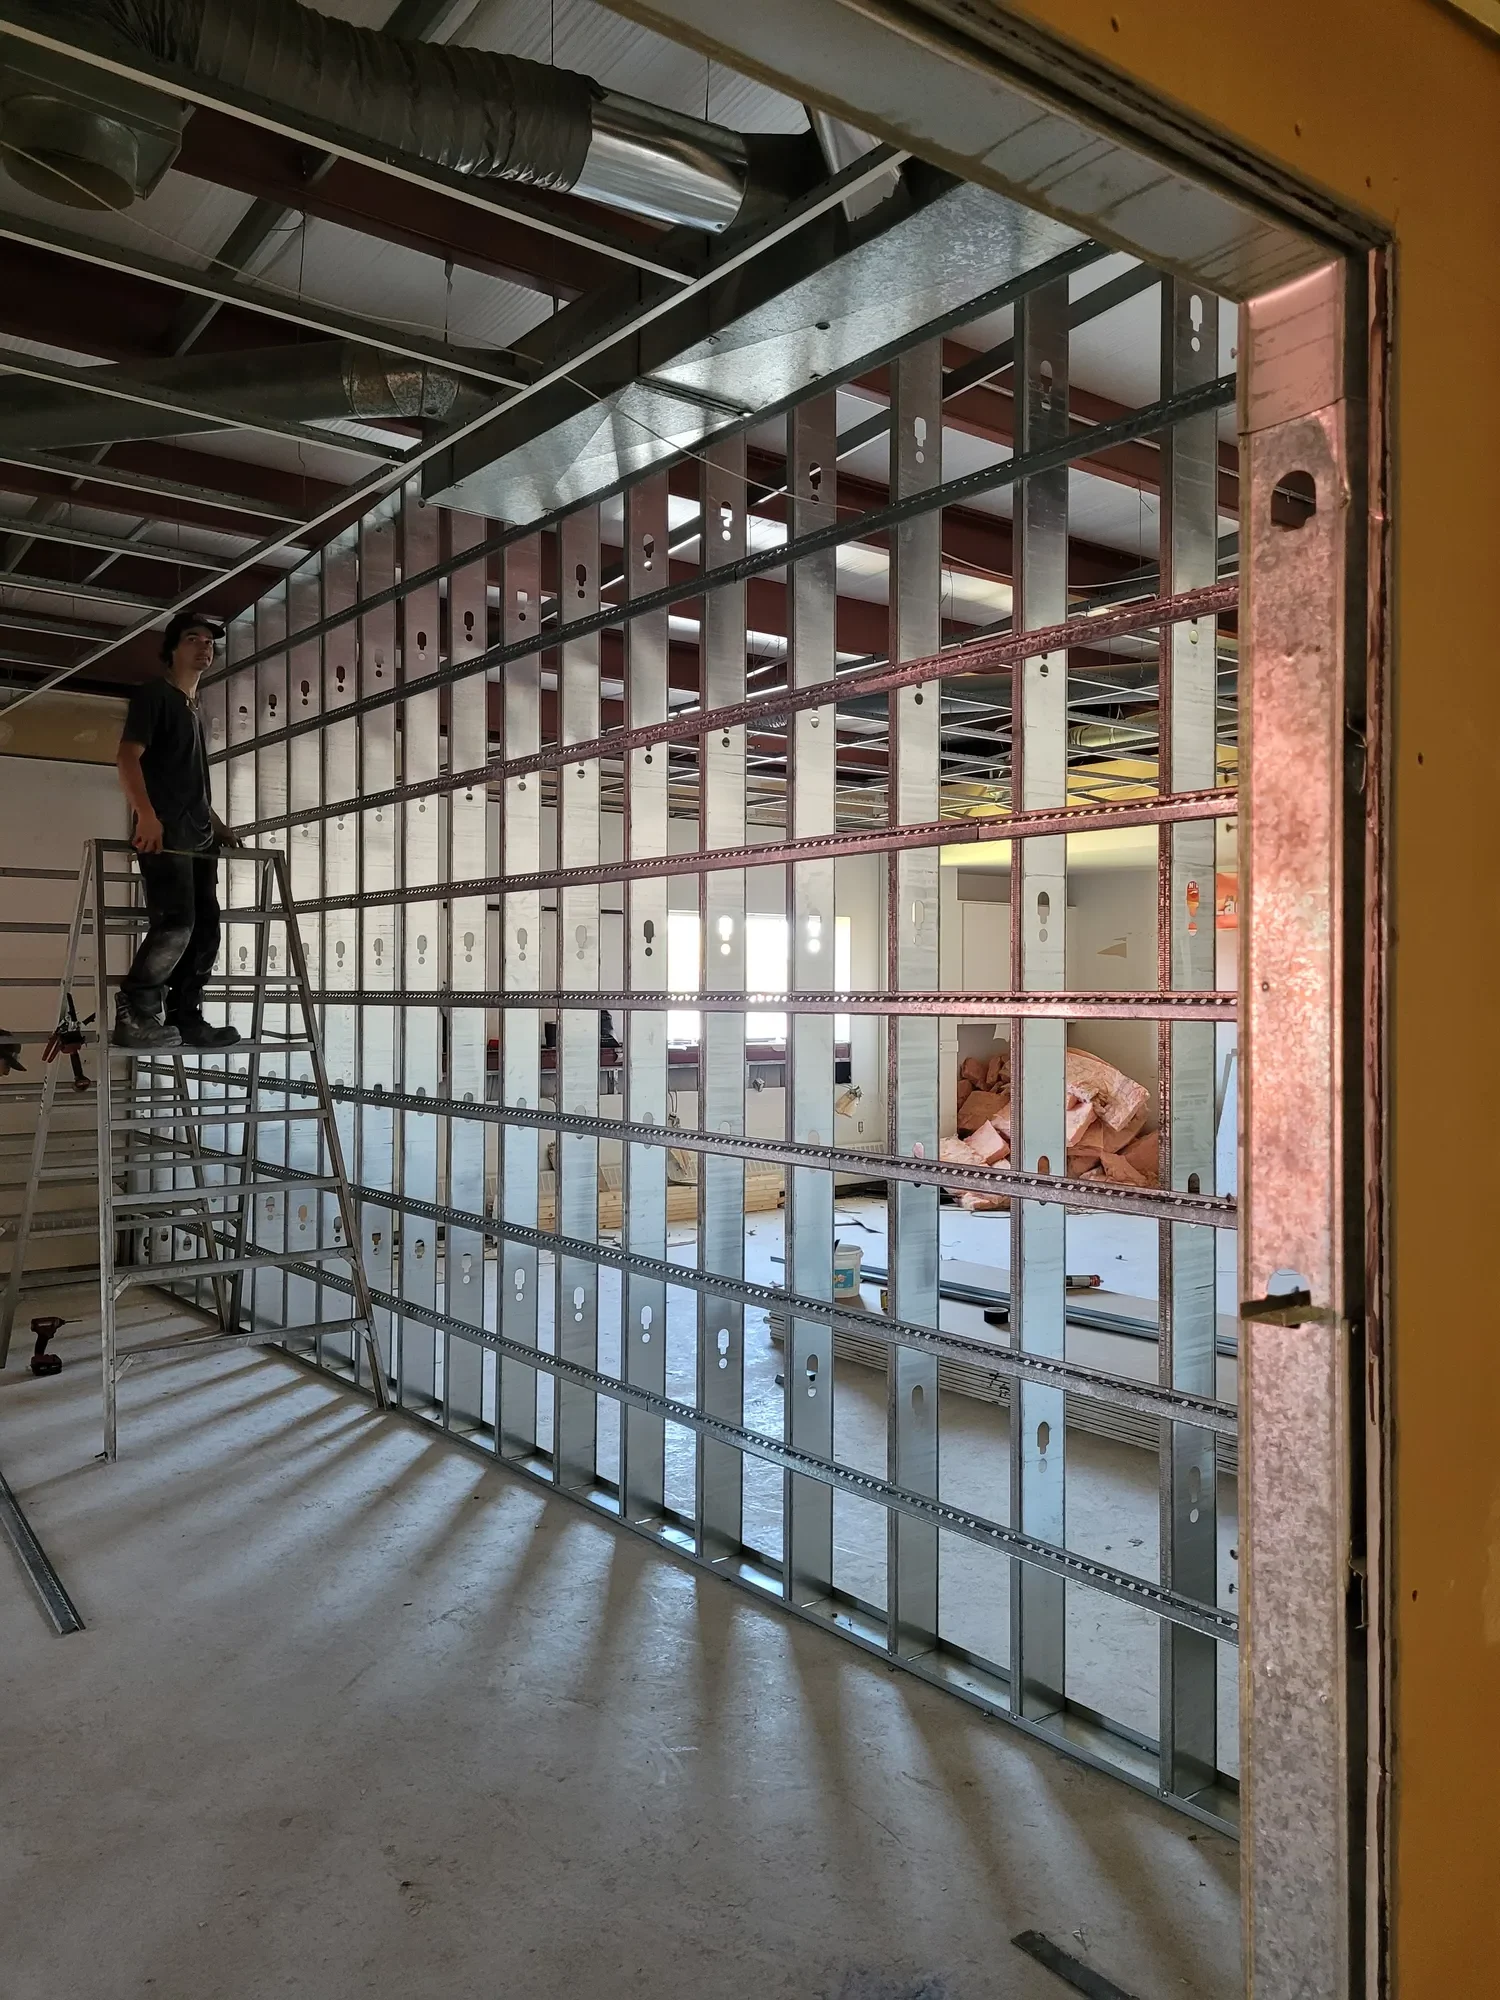
When a Regina professional services firm outgrew its open-plan floor, it needed private offices without moving buildings. RBSL delivered a full commercial office fit-out in steel stud: 6,400 square feet, phased around a working business, finished in nine weeks.
The challenge
The tenant had signed a lease renewal on the condition the floor could be reconfigured. Twelve private offices, two meeting rooms and a staff lounge had to fit inside a footprint originally designed as a single open bullpen, and the firm could not close for the duration.
That ruled out a conventional demolition-first sequence. Staff, clients and deliveries kept using the floor every weekday, so the work had to be broken into zones that could be sealed, built and handed back one at a time.
How we approached it
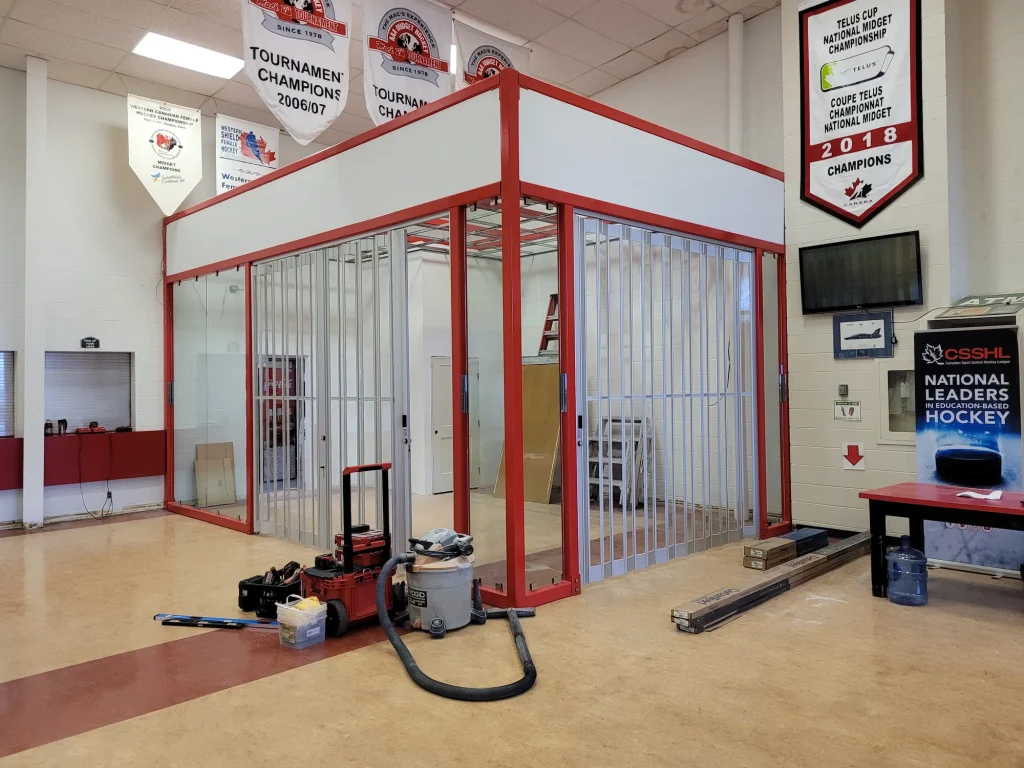
We built the schedule backwards from the tenant’s operating hours. The floor was divided into four zones, each hoarded with temporary partitions and negative-air dust control before any demolition started. Anchoring track, coring and overhead drilling were pushed to evenings and Saturdays.
Because the building’s existing as-builts were incomplete, we laser-scanned the floor before layout rather than trusting the drawings. That caught two structural columns and a mechanical chase in positions the original plan had wrong, and the partition layout was adjusted before a single stud was cut instead of after.
Materials and systems
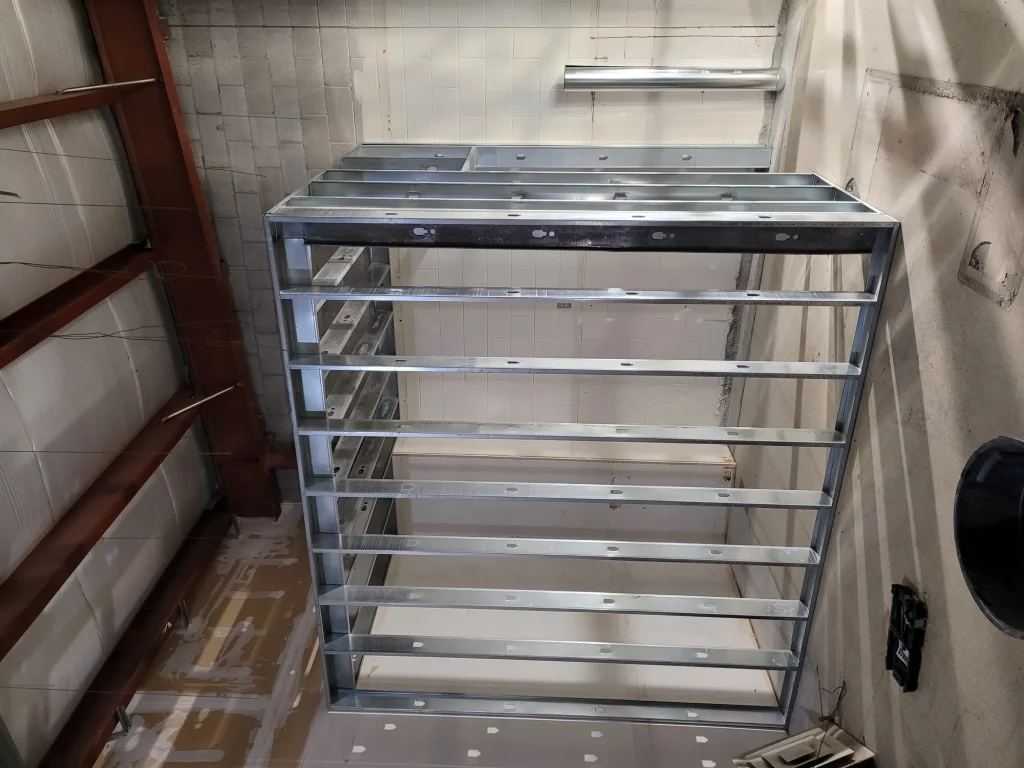
Partitions were framed in 3-5/8″ 20-gauge steel stud on acoustic sill sealer, with sound batt insulation and resilient channel on the office and meeting-room walls to hit the acoustic privacy the tenant asked for. Demountable glazed fronts were used on the meeting rooms so daylight still reaches the interior of the floor.
Steel stud was the right call here for more than fire and acoustics: it goes up fast, it stays dimensionally stable, and it produces far less on-site waste and dust than dimensional lumber, which matters when you are building beside people who are trying to work.
The result
The floor was handed back zone by zone, with the final zone completed in week nine. The tenant did not lose a single business day, and the firm renewed for a further five years on the strength of the reconfigured space.
Post-occupancy, we returned at the 30-day and 11-month marks to adjust door hardware and touch up the finishes, the same warranty follow-up we run on every commercial project.
On site
Common questions
Can commercial renovations be done while staff keep working?
Yes. Zoned phasing, temporary hoarding, negative-air dust control and after-hours scheduling for noisy work let most office fit-outs proceed without closing the business. It usually adds some time to the schedule, but far less than the cost of relocating staff.
Why use steel stud instead of wood framing in a commercial interior?
Steel stud is non-combustible, dimensionally stable, and does not warp or shrink with humidity. It also assembles quickly and generates less dust and waste on site, all of which matter in an occupied commercial building.
Building Envelope · Water Intrusion
Foundation Water Intrusion Repair & Perimeter Drainage
Water in a basement is a symptom, not a diagnosis. This Regina homeowner had spent three springs chasing the leak with sealants and sump upgrades. RBSL started outside, where the water actually came from, and fixed the cause.
The challenge
The owners had already tried the usual interior remedies: hydraulic cement on visible cracks, a new sump pump, and a dehumidifier running through the wet months. Water still appeared along the north and west walls every spring melt and after heavy rain.
Interior patching almost never solves this. If water is reaching the inside face of a foundation wall, it is already sitting against the outside face under hydrostatic pressure, and it will find the next weakest point as soon as you seal the current one.
How we approached it
RBSL began as a building envelope company in 2005, and the diagnostic sequence has not changed much since. We started with the water, not the wall: mapping site grade, downspout discharge, and the path surface water takes during a melt before proposing any excavation.
The survey found grade sloping back toward the house along the north elevation, two downspouts discharging within a foot of the foundation, and a section of original weeping tile that had silted up and collapsed. The foundation cracks the owners had been chasing were real, but they were the exit point, not the problem.
Scope of the repair
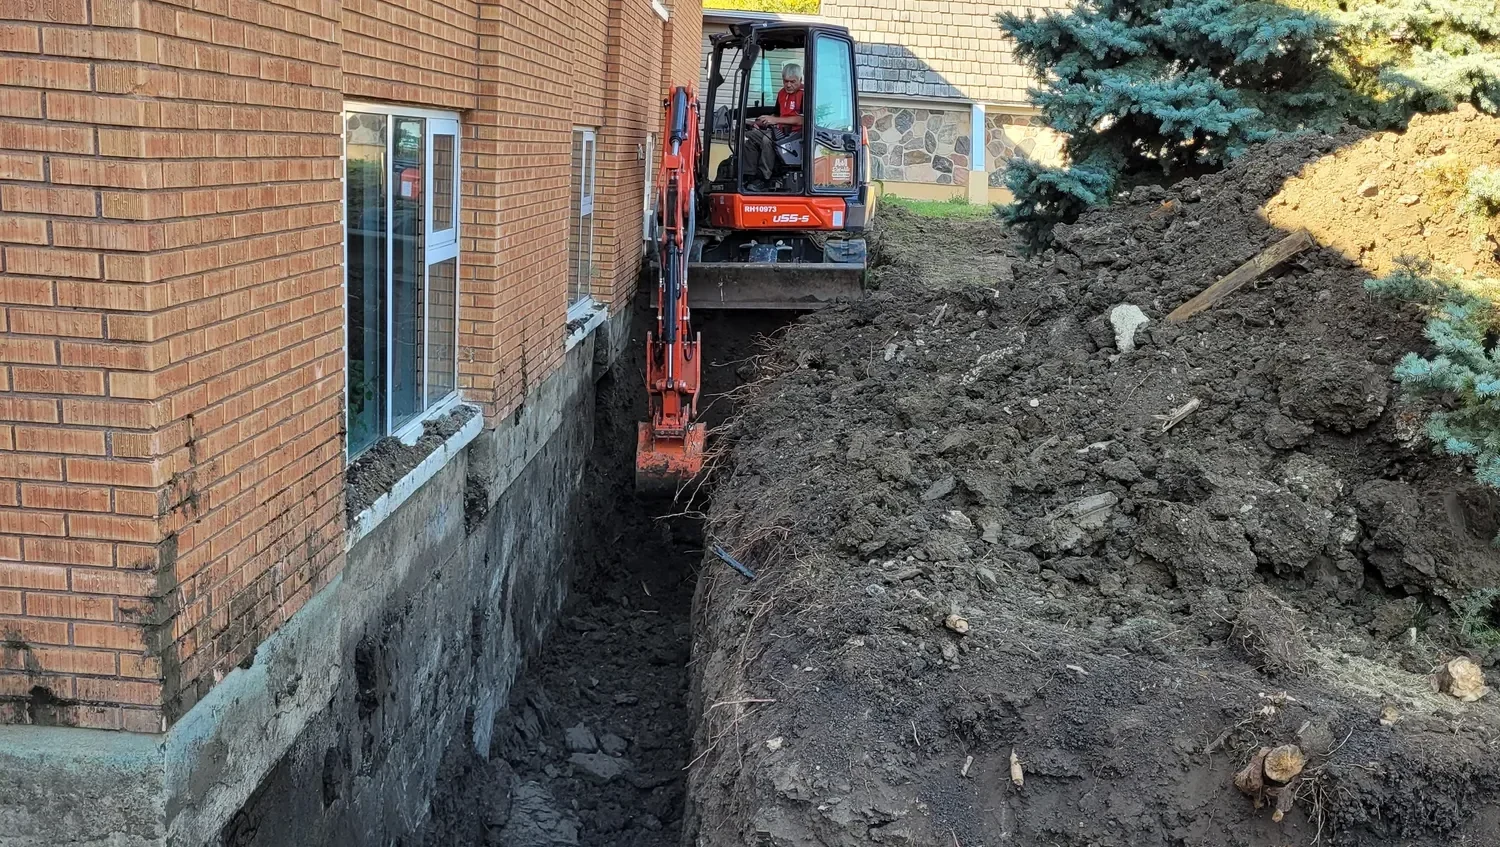
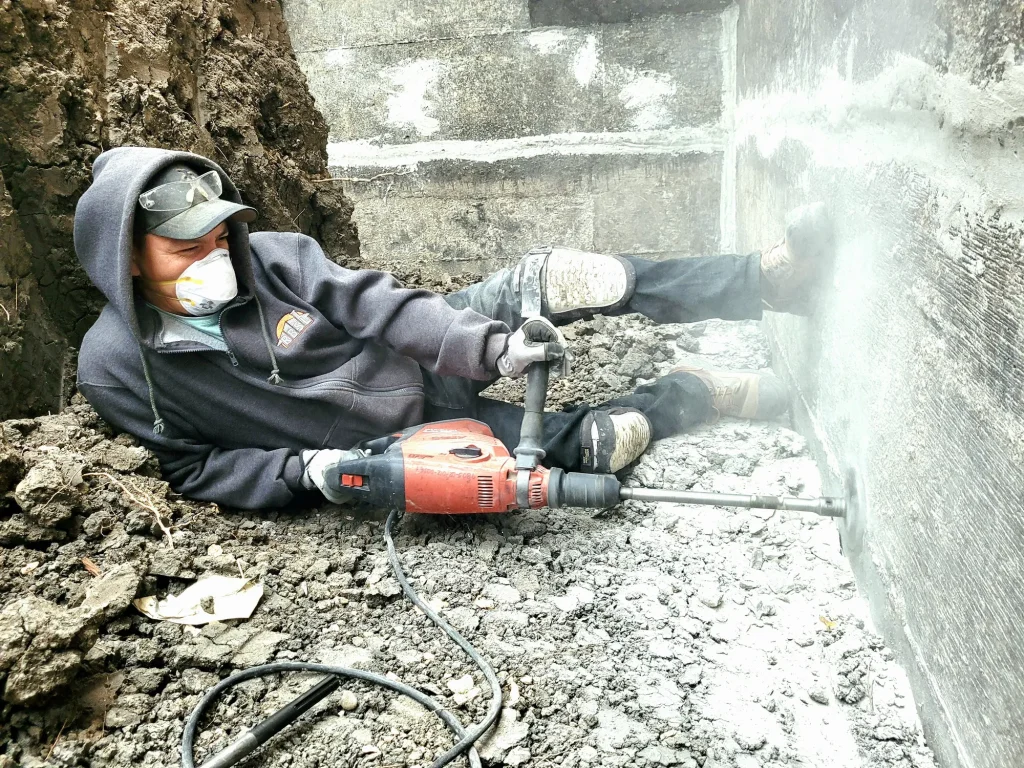
We excavated the full perimeter to the footing, cleaned and pressure-washed the foundation wall, and repaired structural cracks by injection from the exterior side. The wall was then damp-proofed and covered with a dimpled drainage membrane to hold water off the concrete and give it a path down to the tile.
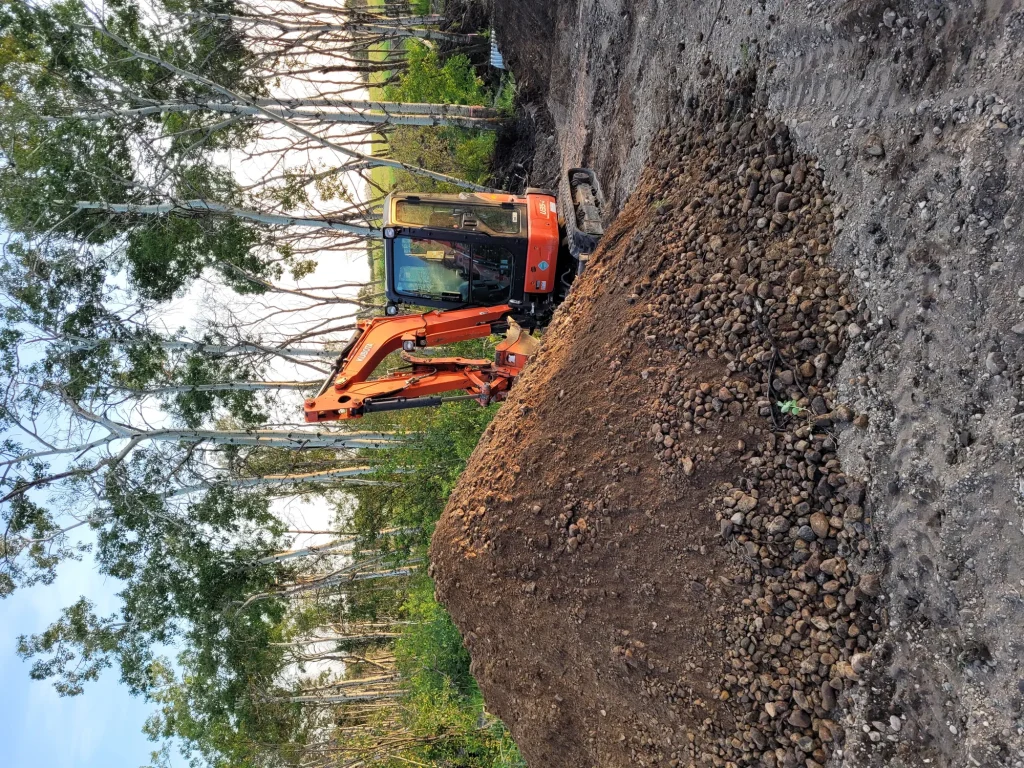
New perforated weeping tile was laid in washed drainage rock and wrapped in filter fabric, tied into the existing sump discharge. Backfill was placed in lifts and compacted, then the grade was rebuilt to fall away from the house, and downspouts were extended well clear of the backfill zone.
The result
The basement stayed dry through the following spring melt and through the heaviest rain events of the season, the first time in four years. Because the repair addressed drainage rather than symptoms, there is nothing left inside the wall to re-seal annually.
The owners also received the moisture survey documentation, which matters on resale: it shows a diagnosed and permanently corrected drainage issue rather than an unexplained history of a wet basement.
On site

Common questions
Why didn’t sealing the cracks from inside fix the leak?
Interior sealants push back against water that is already under pressure on the outside of the wall. They may stop one visible entry point, but the water simply migrates to the next crack, cold joint or form-tie hole. The durable fix is to stop water reaching the wall in the first place.
How do I know if my wet basement is a drainage problem?
Water that appears during spring melt or shortly after heavy rain, along walls facing a downspout or a back-sloping grade, almost always points to surface drainage or a failed weeping tile. A moisture investigation confirms the source before anyone starts excavating.
Building Envelope · Window Replacement
Second-Storey Window Replacement & Re-Flashing
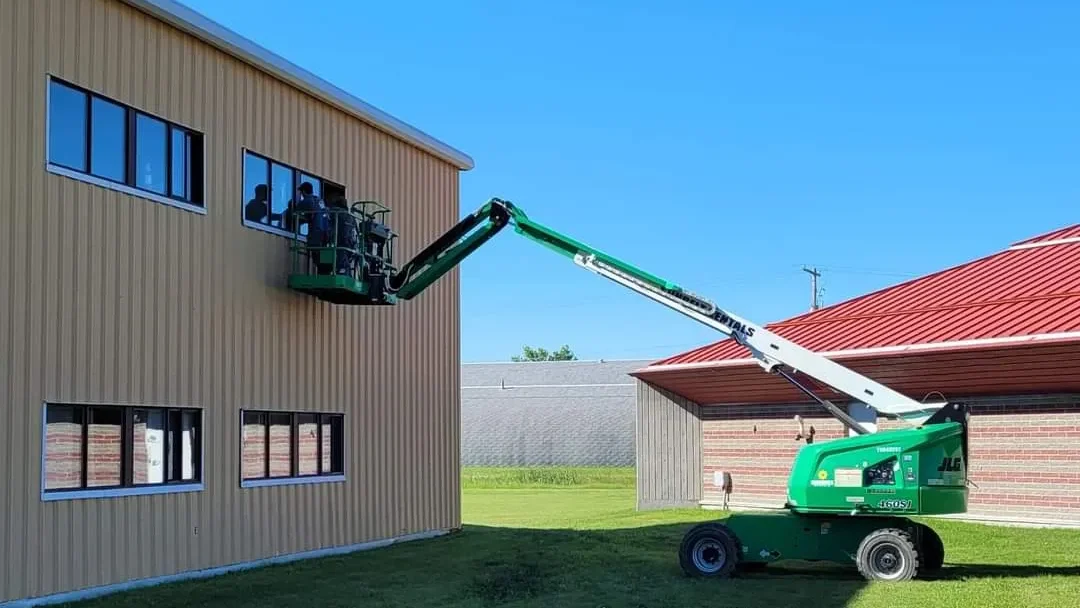
Failed seals, condensation between panes and drafts through the frames. Fourteen second-storey windows had reached the end of their service life. Replacing the units was the easy part. Detailing the openings so they drain and seal correctly is what determines whether the next set lasts.
The challenge
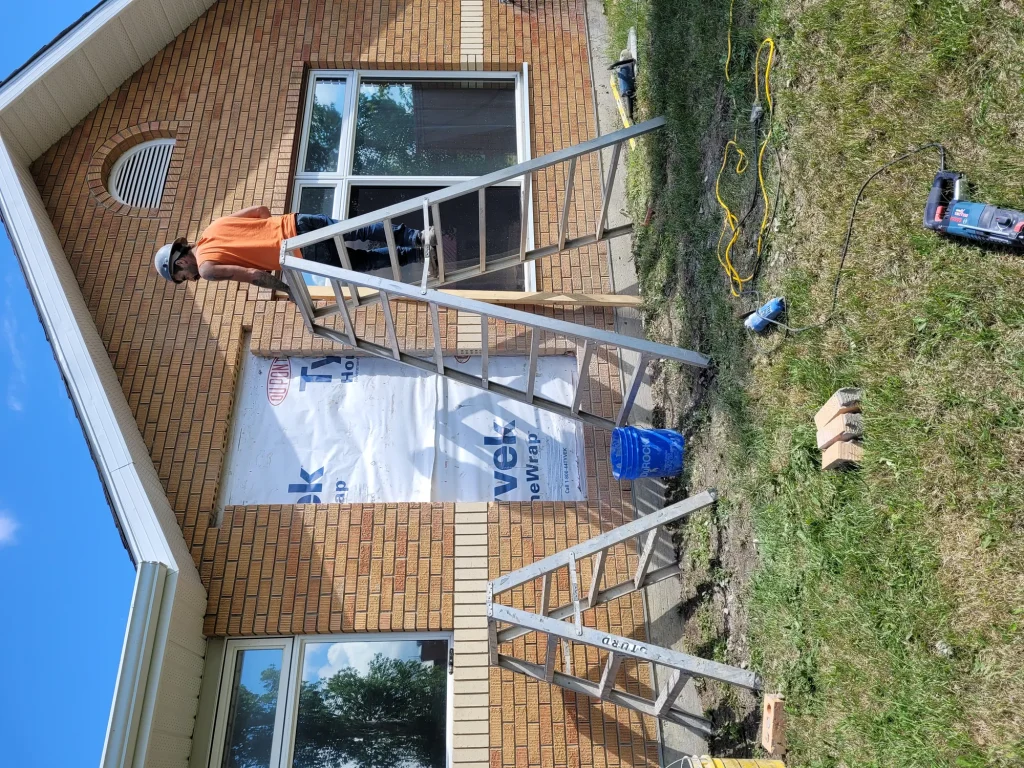
All fourteen openings were at second-storey height with limited ground clearance on two elevations, so ladder access was neither safe nor practical for units of this size. Access dictated the entire sequence.
The bigger unknown was what sat behind the existing trim. On a building of this age, original window installations frequently lack a sill pan and rely on face-sealed caulking alone, which means any water that gets past the exterior seal has nowhere to drain and sits in the rough opening.
How we approached it
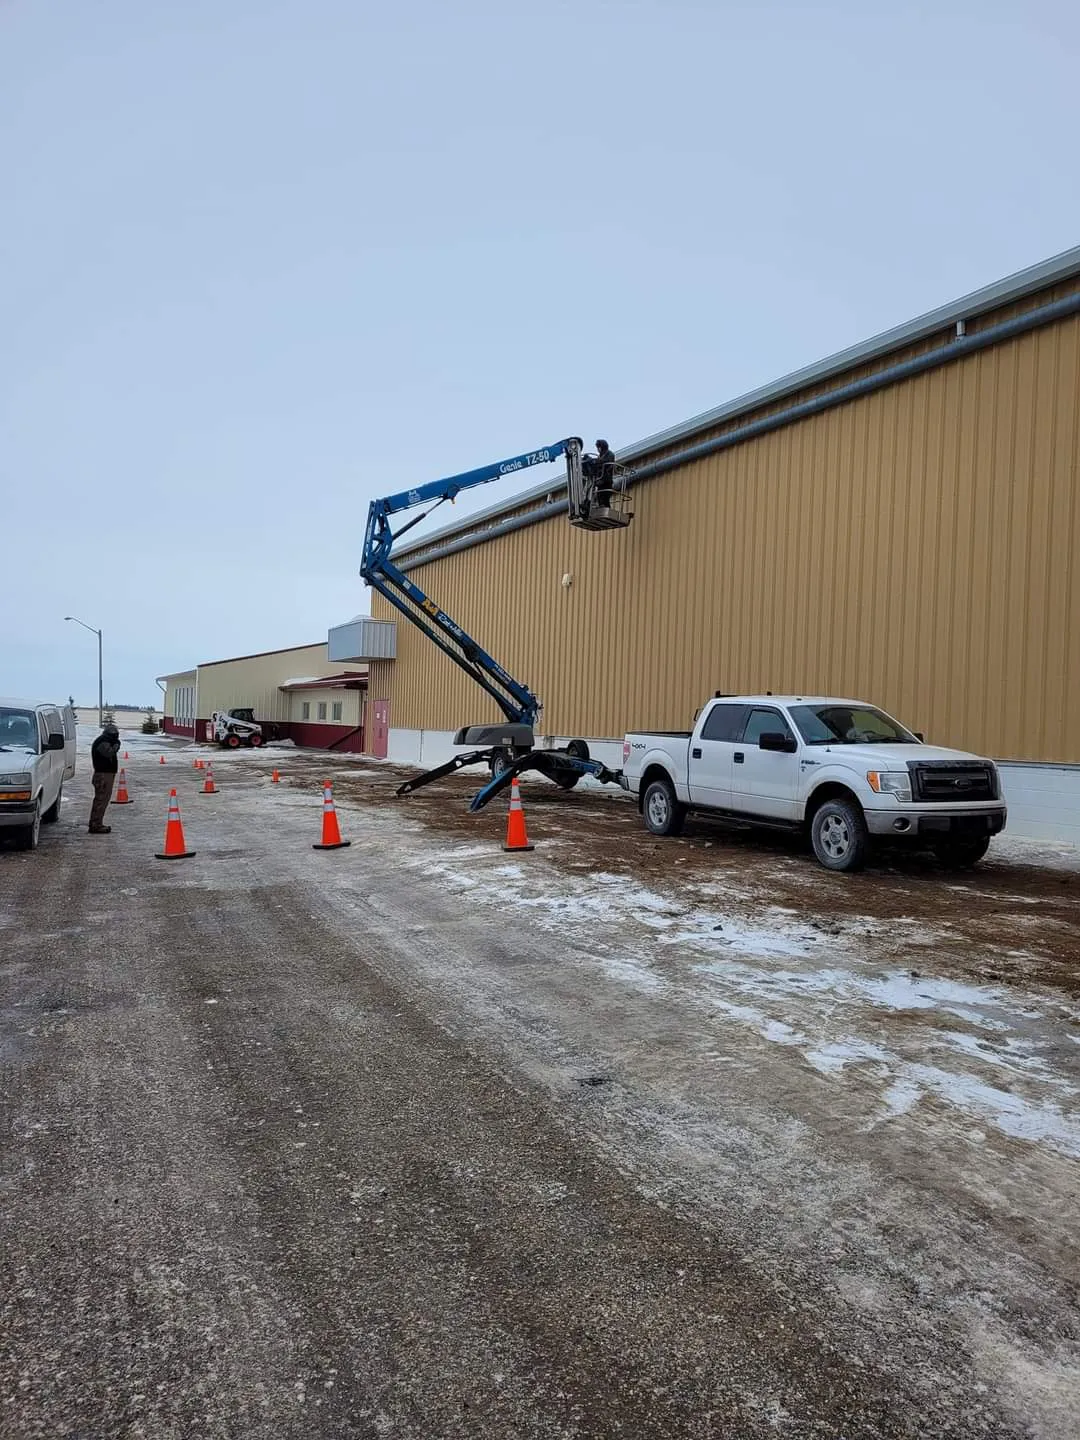
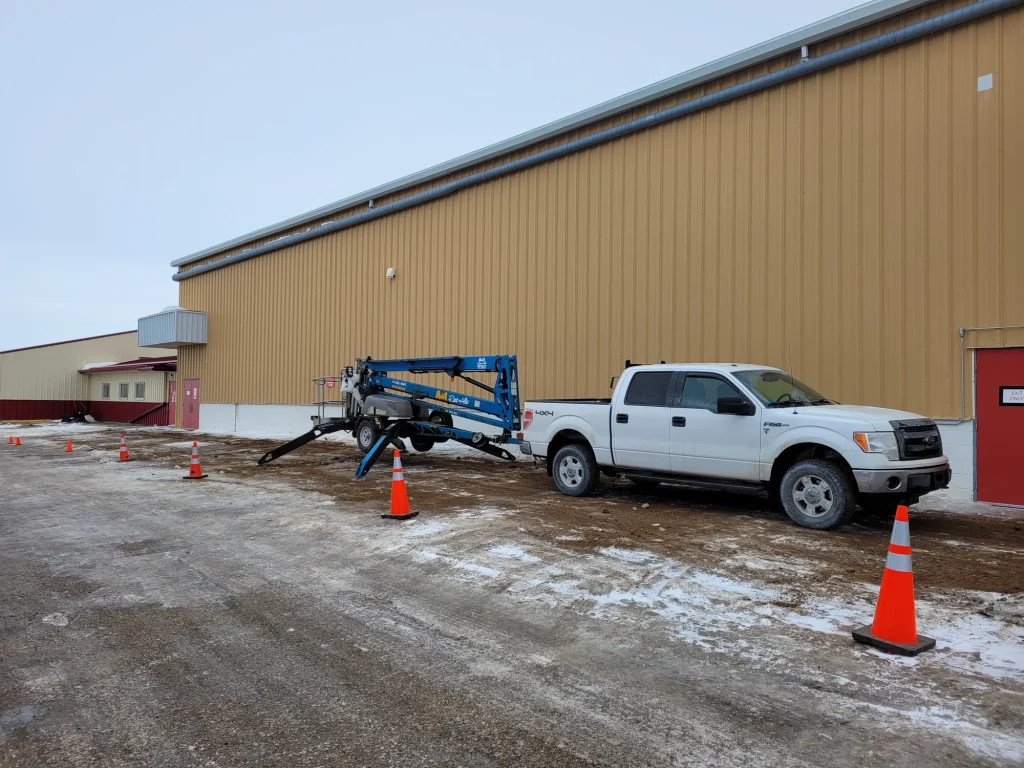
We staged the work from a boom lift, which let a two-person crew remove, inspect, install and finish each opening in a single positioning rather than working around ladder resets. Openings were tackled one elevation at a time so the building was never left open to weather overnight.
Every rough opening was inspected once the old unit was out. Four showed sill rot from exactly the face-sealed detail we expected. Damaged framing was cut back to sound material and rebuilt before the new units went anywhere near the opening.
The detail that matters
Each opening received a sloped sill pan with end dams and a back dam, sequenced so that flashing laps shed water outward and downward over the layer below. The new units were set in a continuous bead, shimmed square, and fastened to the manufacturer’s pattern.
The interior perimeter was insulated with low-expansion foam and air-sealed to the interior finish, so the assembly drains to the exterior and seals to the interior. That order matters: a window sealed on both faces traps any water that does get in.
The result
The owners reported an immediate difference in draft and noise on the upper floor, and the seasonal condensation on the interior glass has not returned. Exterior trim and cladding were made good so the replacements read as original to the elevation.
Because the openings were properly flashed rather than face-sealed, the new units are working in an assembly that will drain, which is the difference between windows that last their warranty and windows that fail early for reasons nobody can see.
On site
Common questions
Is it worth replacing windows one at a time or all at once?
Doing an entire elevation at once is almost always cheaper per opening. Access equipment, staging and crew mobilisation are a large share of the cost on second-storey work, and those costs are paid once whether you replace two windows or fourteen.
What is a sill pan and why does it matter?
A sill pan is a waterproof tray under the window with raised end and back dams, sloped to drain outward. It catches any water that gets past the exterior seal and sends it back out. Without one, that water sits in the rough opening and rots the framing.
Residential · New Construction
Custom Home Framing & Structural Package
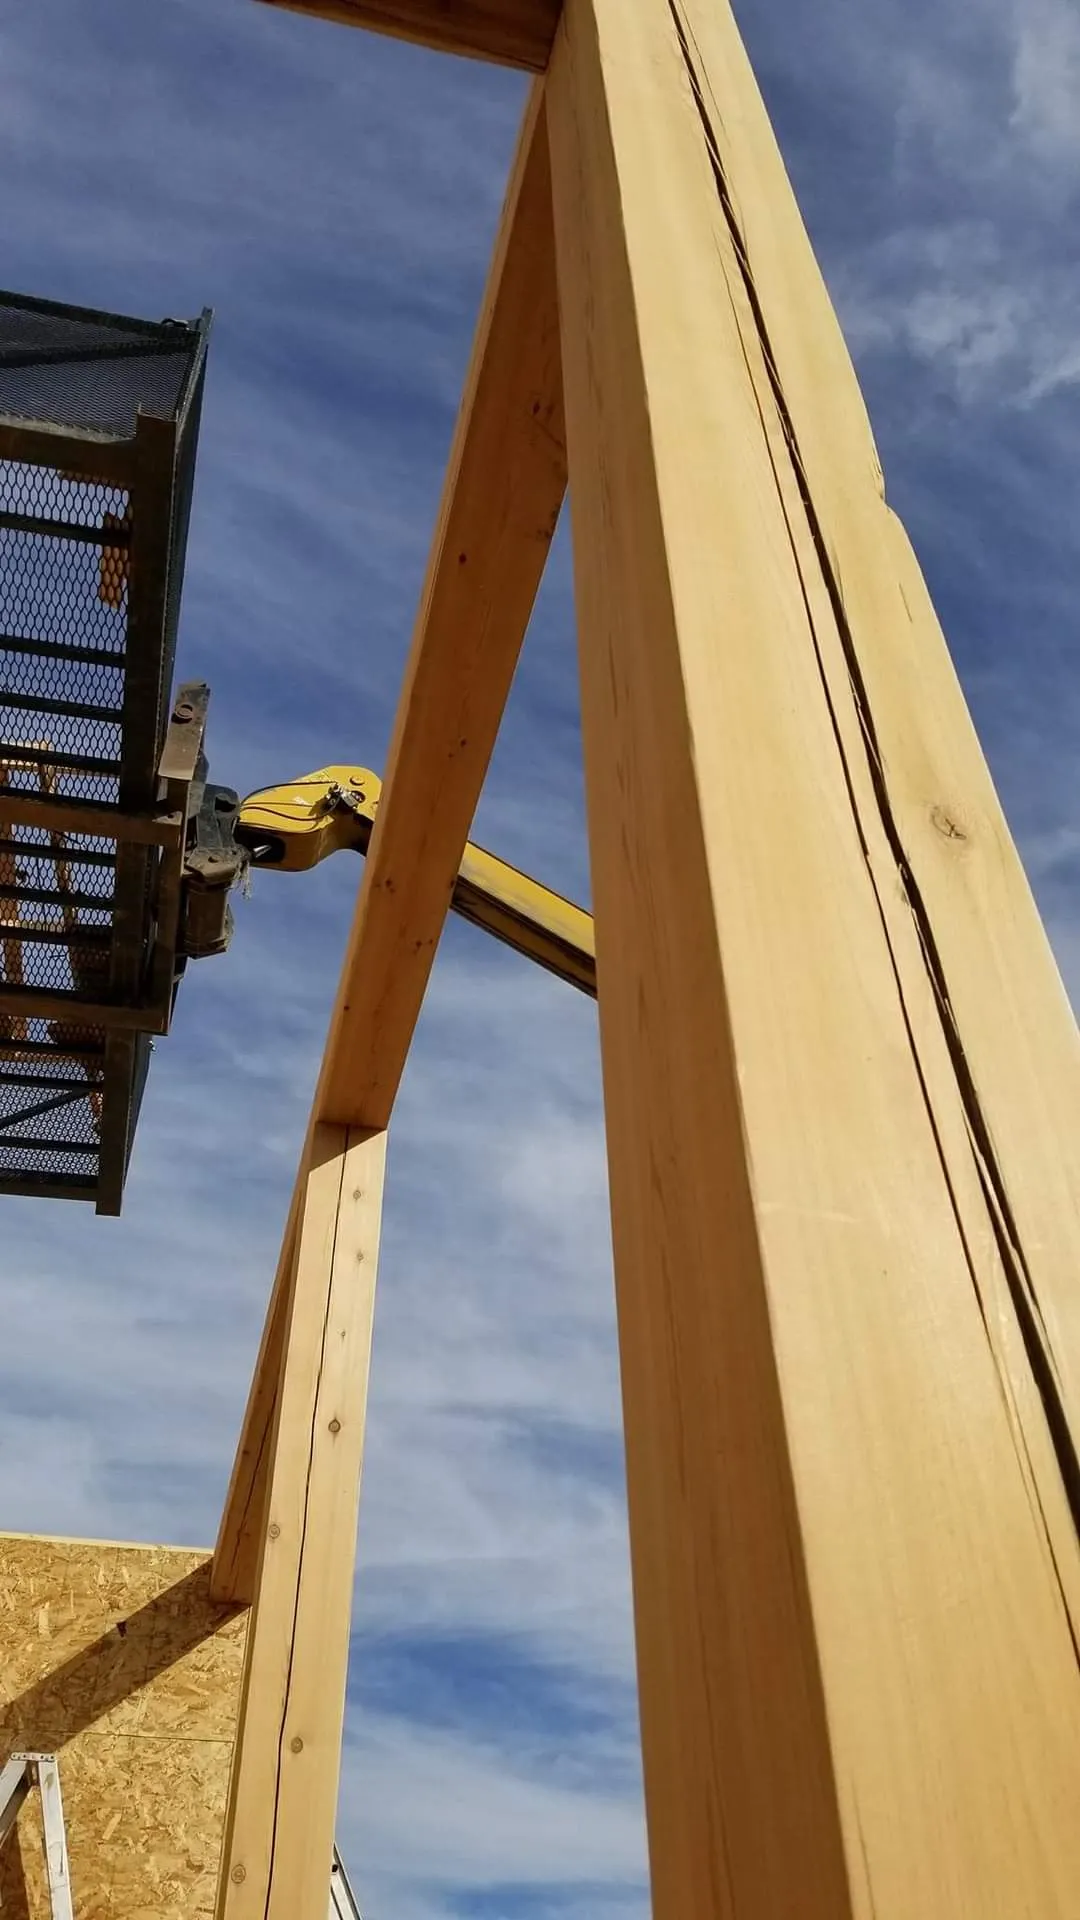
A custom two-storey with an engineered floor system and a vaulted great room, framed as a complete structural package. On a Saskatchewan build, the goal is simple: get the structure up, sheathed and weather-tight before the season turns.
The challenge
The design carried a vaulted great room with a structural ridge and a long clear span over the main living area, which meant point loads that had to be carried cleanly from the roof structure through two storeys and into the foundation.
The schedule was the other constraint. Framing started in late summer, and every week of slippage increased the risk of finishing the sheathing and roof in snow. Sequencing had to leave no idle days waiting on materials or inspections.
How we approached it
We built the load path first on paper, confirming with the engineer exactly how the ridge and clear-span loads transfer down through the storeys before any lumber was cut. Bearing walls, posts and beam pockets were laid out to that path rather than resolved on the fly at framing stage.
Material was ordered and staged by phase, so the crew was never waiting on a delivery. The engineered floor system went in first and gave a full, safe working deck for the walls above, which is both faster and considerably safer than working off a joist grid.
Framing and enclosure
Exterior walls were framed, sheathed and stood in sections, then plumbed and lined before the second-storey deck went on. Trusses were set to the engineered layout, with the vaulted section framed to the structural ridge and blocked for the ceiling finish.
Once the roof structure was complete, we moved straight to sheathing, house wrap and window bucks. Getting the building envelope closed is the milestone that de-risks a prairie build. After that, interior trades can work regardless of the weather.
The result
The structure was framed, sheathed and weather-tight in seven weeks, ahead of the first snow, and passed structural inspection without deficiencies. Interior trades started on schedule with a dry, square building to work in.
Framing accuracy pays out for the rest of the build. Walls that are plumb and floors that are level mean cabinets, tile and trim all install faster and fit better, savings that show up in every trade that follows.
On site
Common questions
How long does it take to frame a custom home?
A 2,500 to 3,000 square foot two-storey typically takes six to eight weeks to frame, sheathe and make weather-tight, depending on roof complexity and weather. Vaulted or long clear-span designs add engineering and setting time.
Why does getting weather-tight before winter matter so much?
Once the envelope is closed and heat can be introduced, interior work continues through winter on schedule. A building left open takes on moisture, delays drywall and finishing, and can push a completion date by months.
Commercial · Commercial Flooring
Corridor & Entrance Flooring Replacement
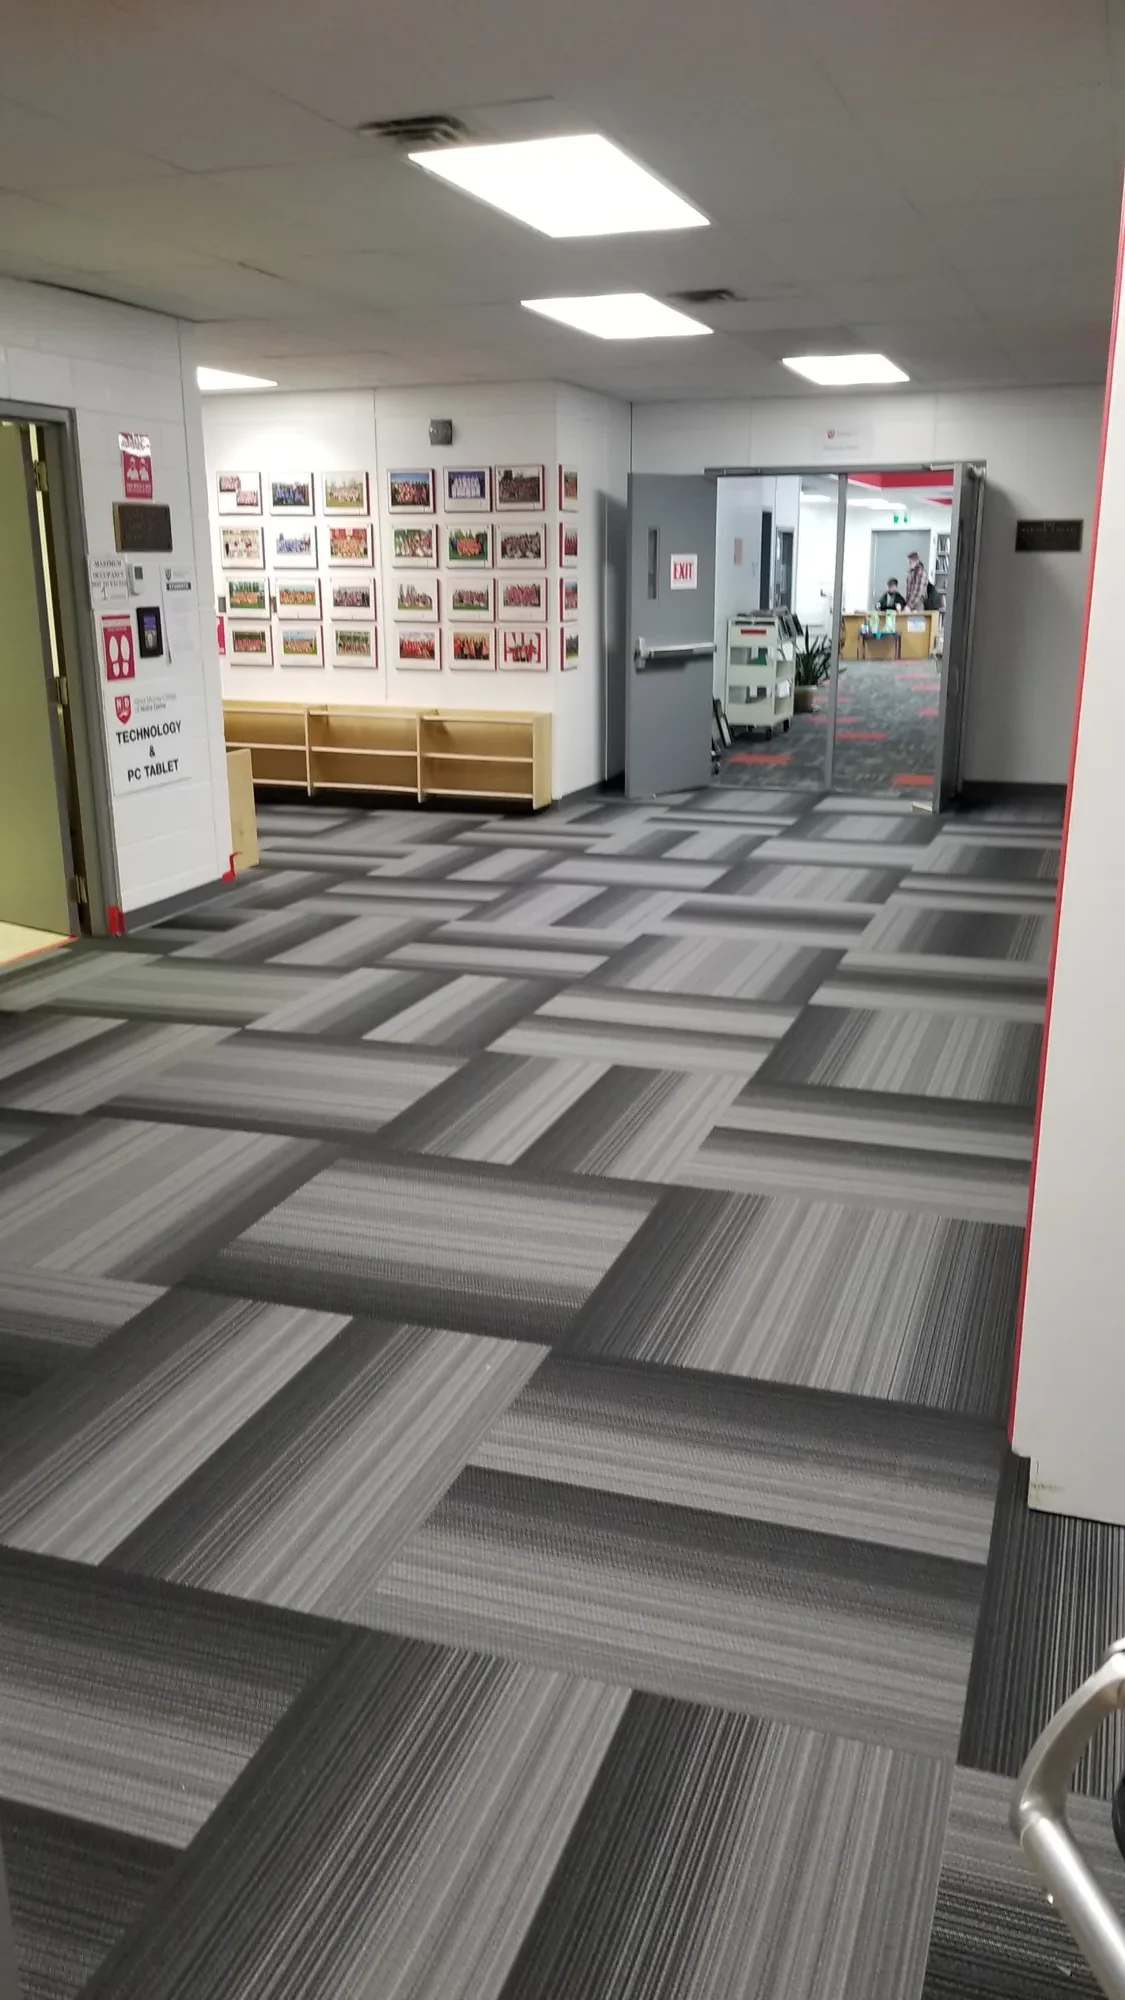
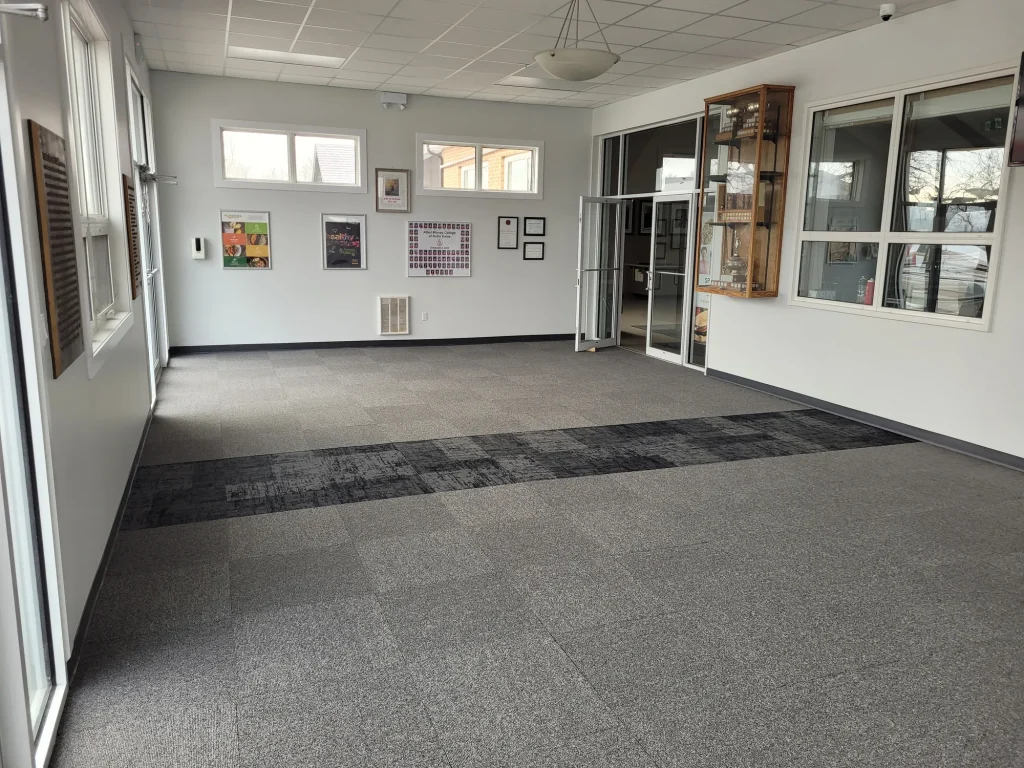
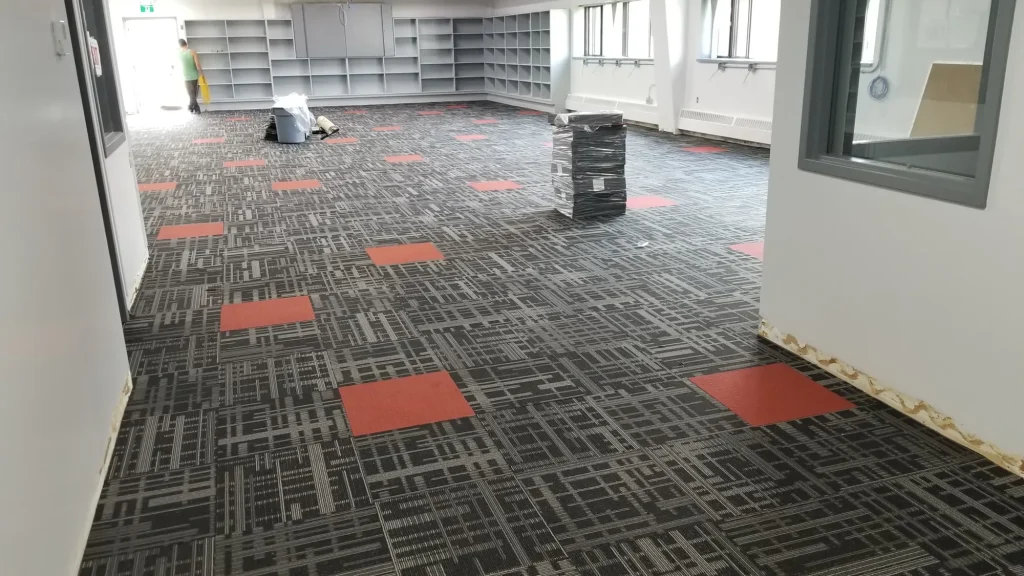
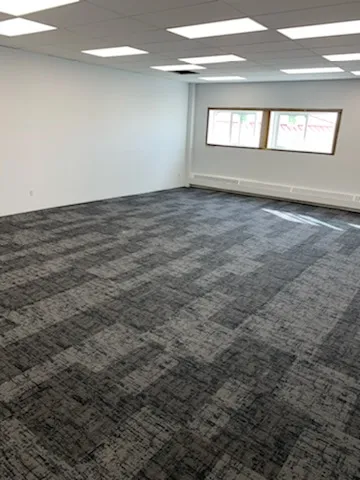
Worn corridors and a failing entrance in a building that could not close. RBSL replaced 4,100 square feet of high-traffic commercial flooring on nights and weekends, with subfloor moisture testing first, because that is what most failed floors have in common.
The challenge
The corridors were the building’s only circulation route and the entrance was its only public door, so neither could be out of service during business hours. Every square foot removed had to be walkable again by the next morning.
The previous installation had also failed early in two areas, with adhesive release and edge curling. Any replacement that ignored why would fail the same way.
How we approached it
Before quoting the replacement, we tested the concrete slab for moisture vapour emission and pH. Both were out of range for the adhesive that had been used originally, which fully explained the early failure and changed the specification for the new floor.
Work was broken into nightly sections sized so that removal, preparation, installation and a walkable cure could all fit inside a single shift. Sections were laid out to keep a continuous, safe path open to the public entrance at all times.
Preparation and installation
Existing material and adhesive residue were removed and the slab was ground flat, then a moisture-tolerant primer and levelling compound brought the substrate into tolerance. Preparation, not the floor covering, is where a commercial installation is won or lost.
The new floor is a commercial-grade luxury vinyl tile chosen for wear layer and slip resistance, set in an adhesive rated for the tested slab conditions. The entrance received a recessed matting system to capture grit and meltwater before it reaches the corridor, the single biggest factor in how a prairie entrance floor ages.
The result
All 4,100 square feet were replaced over four weeks with no daytime disruption and no closure of the public entrance. Each morning the building opened onto finished, walkable floor.
Because the substrate issue was identified and corrected rather than covered, the new installation is working within its adhesive’s rated conditions, which is the difference between a floor that lasts its warranty and one that curls at the edges in year two.
On site
Common questions
Why test a concrete slab before installing commercial flooring?
Excess moisture vapour or high alkalinity in a slab will break down flooring adhesive from underneath, causing edge curling, bubbling and release. Testing is inexpensive, takes days rather than weeks, and determines which adhesive and underlayment the floor actually needs.
Can commercial flooring be replaced without closing the building?
Usually, yes. Sizing each work area so removal, preparation, installation and cure all fit in one overnight shift lets the space open normally the next morning. It requires tighter planning but avoids the cost of shutting down.
Renovation · Interior Renovation
Full Kitchen Renovation & Wall Removal
A closed galley kitchen, cut off from the living space by a wall nobody was sure they could remove. They could, with an engineered beam, a temporary support plan and the services behind that wall rerouted properly.
The challenge
The wall between the kitchen and living area was load-bearing, carrying floor joists from above. It also contained a plumbing stack, several electrical circuits and a heating duct, which is typical, and is usually what turns a simple wall removal into a real project.
The owners wanted a single open space with an island, without a dropped bulkhead or a post in the middle of the opening. That meant the replacement beam had to be flush with the ceiling rather than hung below it.
How we approached it
We had the load path assessed by an engineer before anything was priced, so the beam size, bearing points and foundation support were known quantities rather than assumptions. A flush beam was confirmed as achievable and specified accordingly.
Temporary shoring was installed on both sides of the wall to carry the floor above while the wall came out and the beam went in. Services were traced and rerouted before any structural work began: the stack relocated, circuits rerun, and the duct rerouted through the adjacent ceiling.
Rebuild and finishes
With the flush beam set and bearing points carried down to solid support, the ceiling was made continuous across the old wall line so no bulkhead reads through. New flooring was run unbroken across both rooms, which does more than anything else to make two spaces read as one.
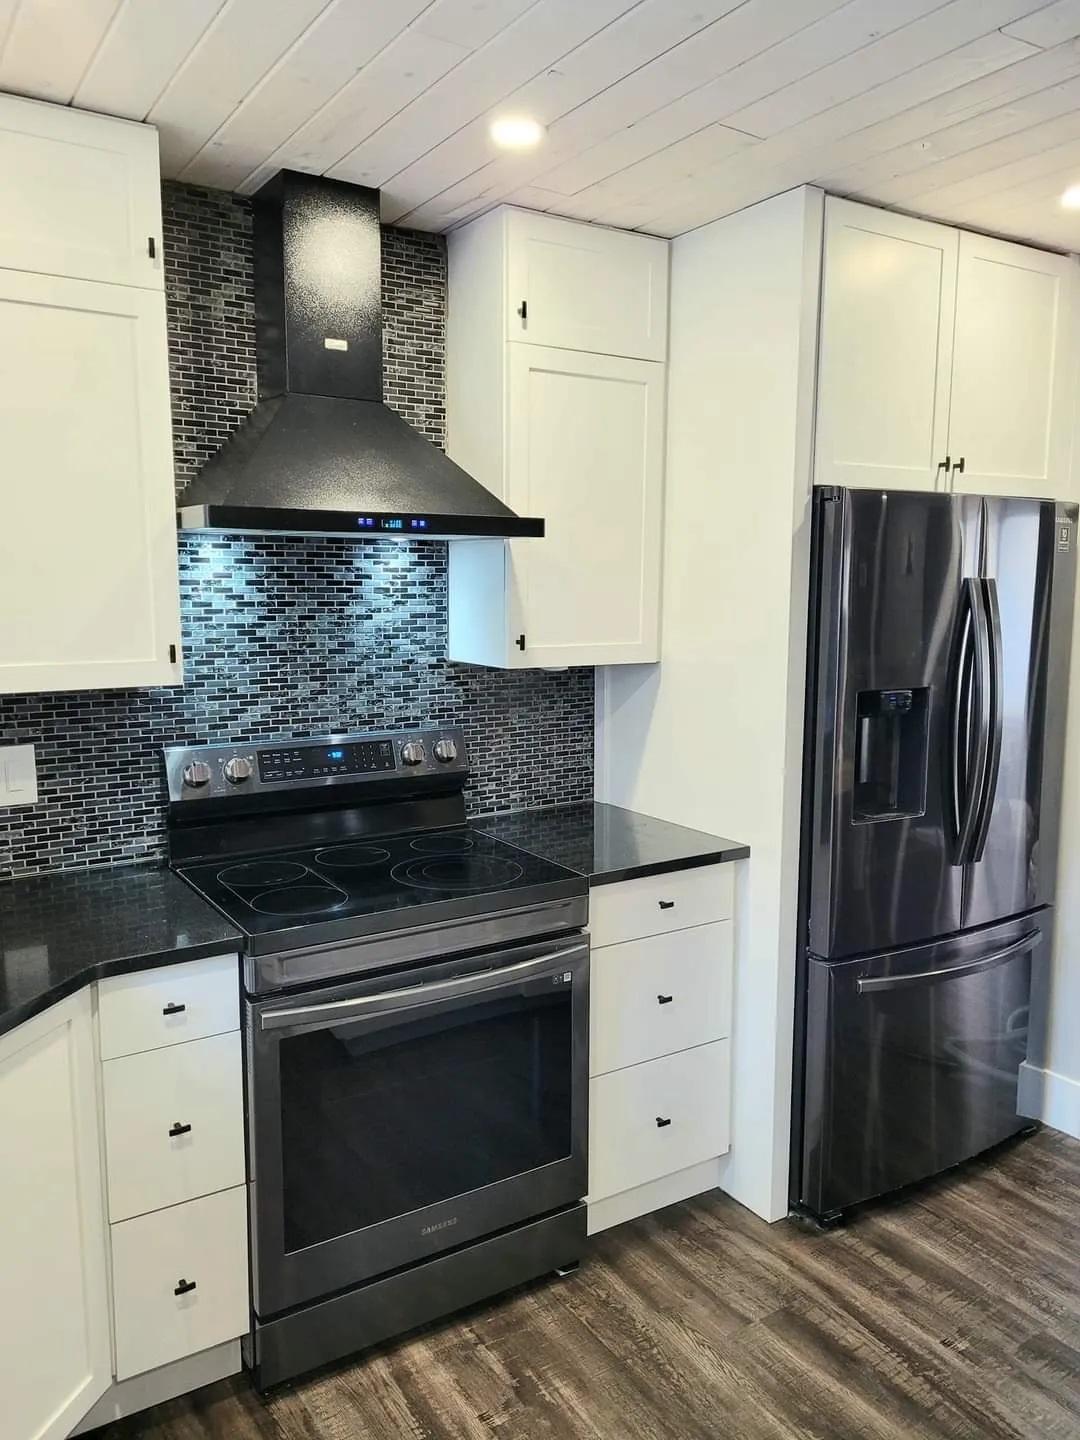
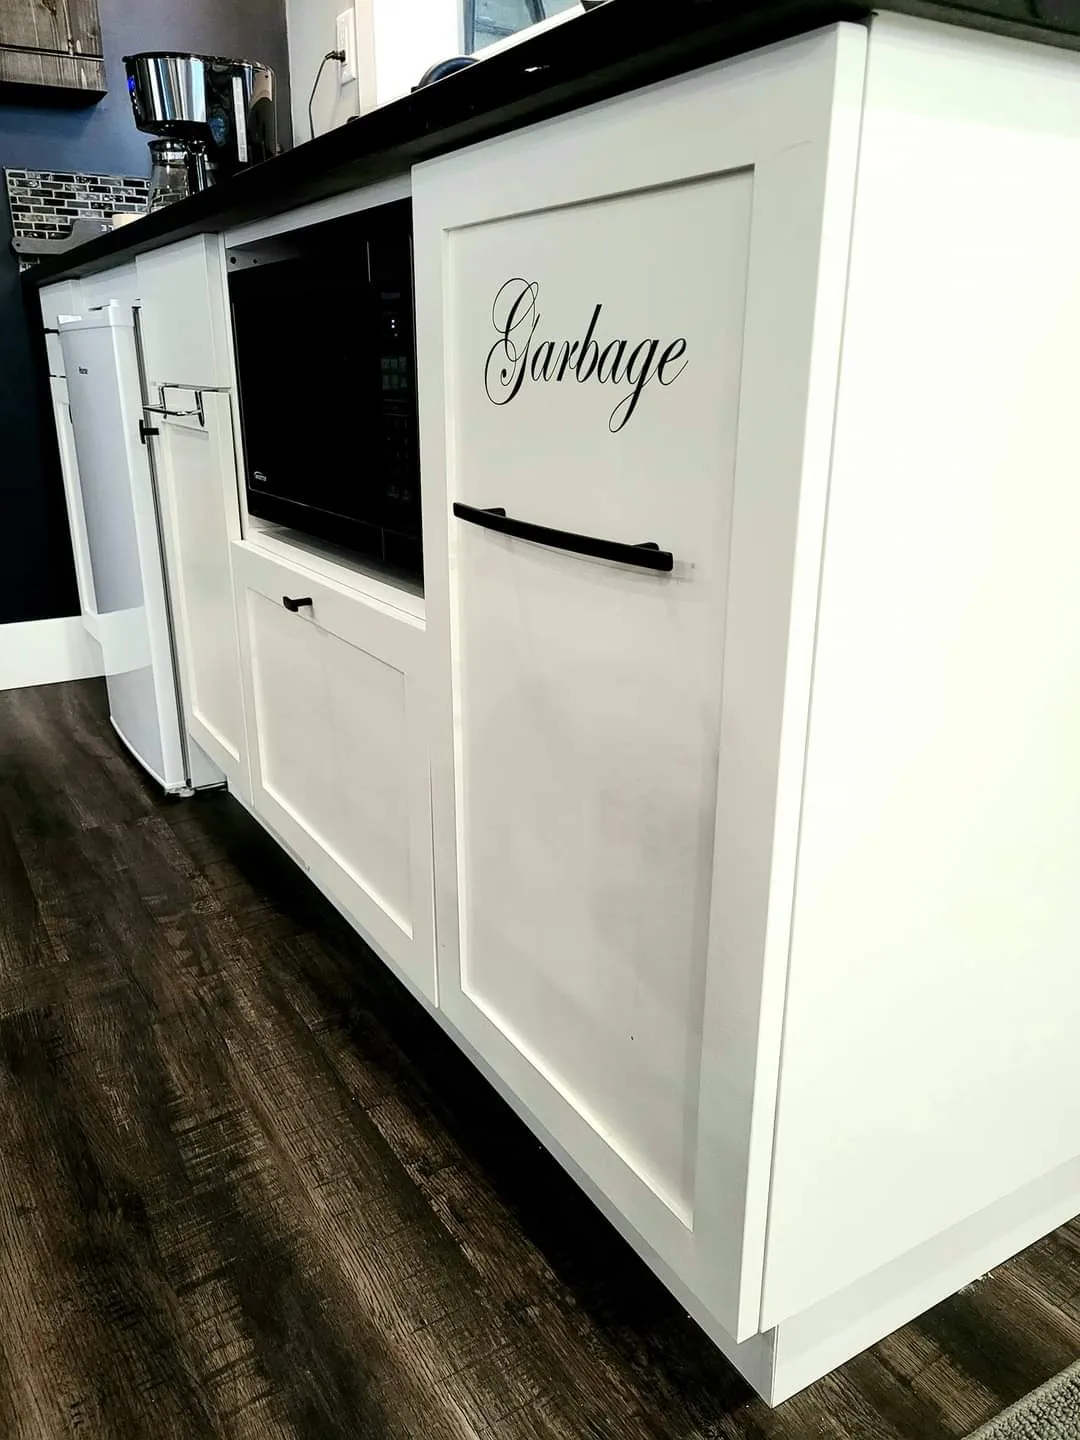
Custom cabinetry was built to the new layout with a full-height pantry bank and an island housing the sink and dishwasher. Lighting was planned in layers: task lighting under the uppers, directional lighting over the island, and dimmable ambient lighting for the shared space.
The result
The kitchen and living area now function as one room with clear sightlines and no visible trace of the original wall. The project ran eight weeks from demolition to final finishing.
The engineered structural work was inspected and documented, which matters at resale, where an undocumented removed bearing wall is one of the first things a home inspector will flag.
On site
Common questions
Can you remove a load-bearing wall in a kitchen renovation?
Yes, provided the load is carried by a properly sized beam with adequate bearing down to the foundation. It requires an engineered design, temporary shoring during the work, and inspection, but it is routine work when it is planned rather than improvised.
What usually drives the cost of removing a wall?
Rarely the wall itself. Cost is driven by what is inside it, since plumbing stacks, electrical circuits and ductwork all have to be rerouted, and by whether the beam can sit flush with the ceiling or hang below it. A flush beam costs more but leaves no bulkhead.
No projects in this category yet.
Your project could be the next one on this page.
Commercial fit-outs, custom homes, building envelope repairs and renovations across Fort Qu’Appelle, Regina and surrounding areas. Tell us what you are planning.
Start your project